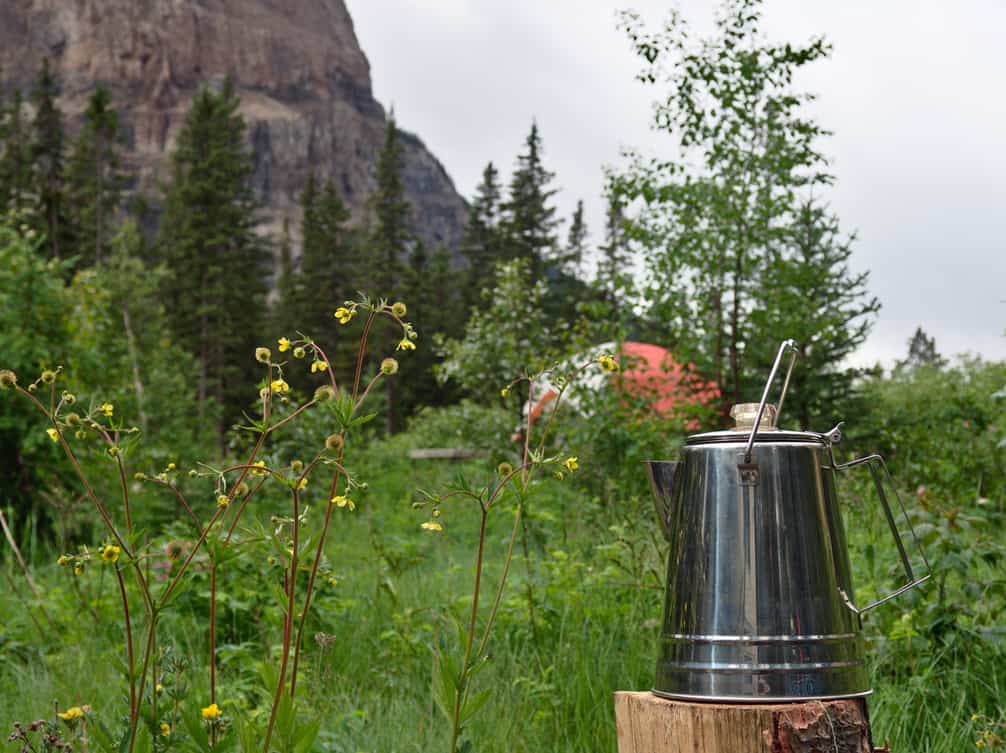
For many outdoor enthusiasts, the aroma of freshly brewed coffee wafting through the crisp morning air is an essential part of the camping experience. While there are various methods to prepare coffee in the wilderness, the classic percolator remains a favorite among campers for its simplicity, durability, and ability to produce a rich, flavorful brew.
This guide will walk you through everything you need to know about using a percolator to make delicious coffee during your camping adventures.
Choosing the Right Camping Percolator
Selecting the perfect percolator for your camping needs is crucial. When browsing through the best coffee percolators for camping, consider the following factors:
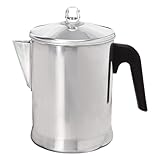
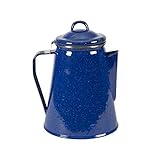
- Material: Stainless steel percolators are durable and easy to clean, while aluminum ones are lighter but may affect the taste of your coffee. Enamel percolators offer a classic look but can chip if not handled carefully.
- Size: Choose a percolator that matches your group size. A 6-cup percolator is suitable for 2-3 people, while larger groups might need a 12-cup version.
- Features: Look for a heat-resistant handle, a transparent perk knob to monitor brewing, and water level markings for precise measurements.
Essential Equipment and Ingredients
Before you start brewing, ensure you have all the necessary items:
- Coarse ground coffee (avoid fine grinds as they can seep through the basket).
- Clean water.
- A heat source (campfire or camping stove).
- Optional: coffee filters and measuring spoon.
For those new to camping, it’s worth checking out a list of tent camping must-haves to ensure you’re fully prepared for your outdoor adventure.
Step-by-Step Guide to Using a Camping Percolator
Preparing Your Coffee
Start by grinding your coffee beans to a coarse consistency. For most percolators, use about one tablespoon of ground coffee per cup of water.
Setting Up the Percolator
- Fill the percolator with cold water up to the desired level.
- Insert the stem and basket assembly into the pot.
- Add your measured coffee grounds to the basket.
- Secure the lid tightly.
Brewing Process
Place your percolator on your heat source. If using a campfire, ensure you’re practicing proper campfire safety and etiquette to prevent accidents. For those using a camping stove, familiarize yourself with how to use a camping stove safely and efficiently.
Start with medium-high heat to bring the water to a near-boil. Once you see coffee bubbling up into the glass knob, reduce the heat to maintain a gentle percolation.
Timing and Strength Control
The brewing time affects the strength of your coffee:
- For mild coffee, percolate for 5-7 minutes.
- For more robust coffee, extend the brewing time to 8-10 minutes.
Keep an eye on the glass knob to monitor the color of the coffee as it brews.
Finishing and Serving
Once brewing is complete, remove the percolator from the heat source and let it sit for a few minutes to allow the grounds to settle. Pour and enjoy your freshly brewed camp coffee!
![COLETTI Classic Percolator Coffee Pot — The Most Nostalgic Camping Coffee Pot, Now Modernized [Blue Enamel, 12 Cup]](https://m.media-amazon.com/images/I/51pHZEjX3mL._SL160_.jpg)
 Stansport Camper’s Percolator Coffee Pot 9 Cups…
 COLETTI Black Bozeman Percolator Coffee Pot —…
 Primula Today Aluminum Stove Top Percolator Maker…
![COLETTI Bozeman Percolator Coffee Pot — Coffee Percolator, Camping Coffee Pot – America’s Favorite Percolator – NO Aluminum or Plastic [6 cup]](https://m.media-amazon.com/images/I/41xKypNvAJL._SL160_.jpg) COLETTI Bozeman Percolator Coffee Pot — Coffee…
COLETTI Bozeman Percolator Coffee Pot — Coffee…
 STANLEY Adventure All-in-One Boil + Brew French…
 Stansport Enamel Percolator Coffee Pot 8 Cup -…
Advanced Techniques and Tips
- Use pre-heated water to reduce brewing time and conserve fuel.
- Wet the filter basket slightly before adding grounds to help prevent fine particles from seeping through.
- For high-altitude camping, you may need to adjust your brewing time as water boils at a lower temperature.
Cleaning and Maintaining Your Camping Percolator
Proper cleaning is essential for maintaining your percolator and ensuring great-tasting coffee on future trips. Rinse all parts thoroughly with hot water after each use. Use water and baking soda to scrub away any coffee oils or residue for a deep clean.
Environmental Considerations
When camping, it’s crucial to minimize our impact on the environment. Properly dispose of coffee grounds by scattering them widely away from water sources or packing them out with your other trash. Be mindful of water usage and follow Leave No Trace principles.
Percolator Coffee Recipes for Camping
Experiment with different recipes to spice up your camping coffee routine. Add cinnamon or cocoa powder to your grounds for a flavored brew, or create a “cowboy coffee” by adding grounds directly to the water for a more rustic experience.
Safety Precautions
Always handle your percolator carefully, as it becomes extremely hot during brewing. Use a pot holder or heat-resistant glove when touching the percolator. When brewing over a campfire, ensure your percolator is stable and not at risk of tipping over.
Conclusion
Mastering the art of percolator coffee while camping can significantly enhance your outdoor experience. With practice, you’ll be brewing the perfect cup of coffee to accompany those breathtaking sunrise views. Remember, the key to excellent camp coffee is in the preparation and the joy of the process.
For those looking to elevate their camping experience further, consider exploring what is hot tent camping for cozy winter adventures, or check out the Big Agnes double sleeping bag for comfortable nights under the stars. And remember to stock up on food that lasts the longest to complement your perfect camp coffee throughout your trip.
Happy camping and happy brewing!
Leave a Reply