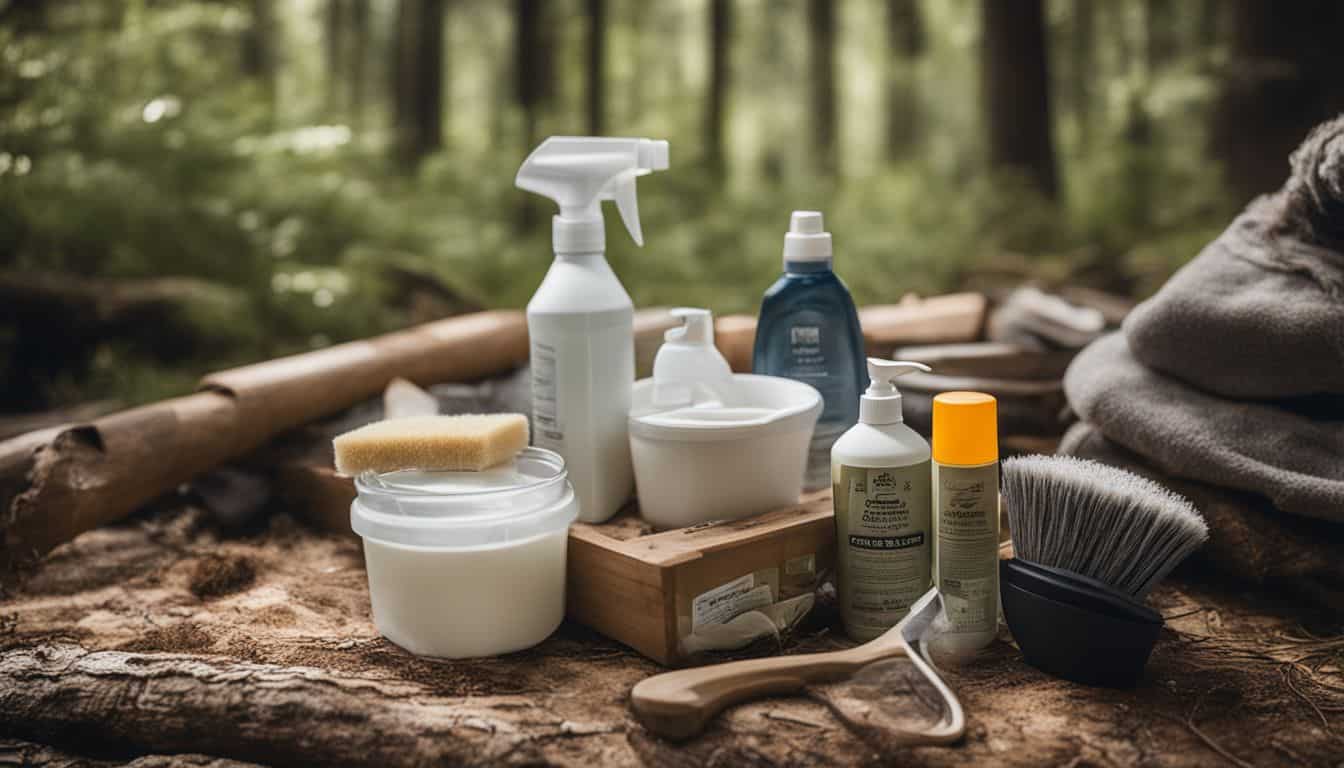
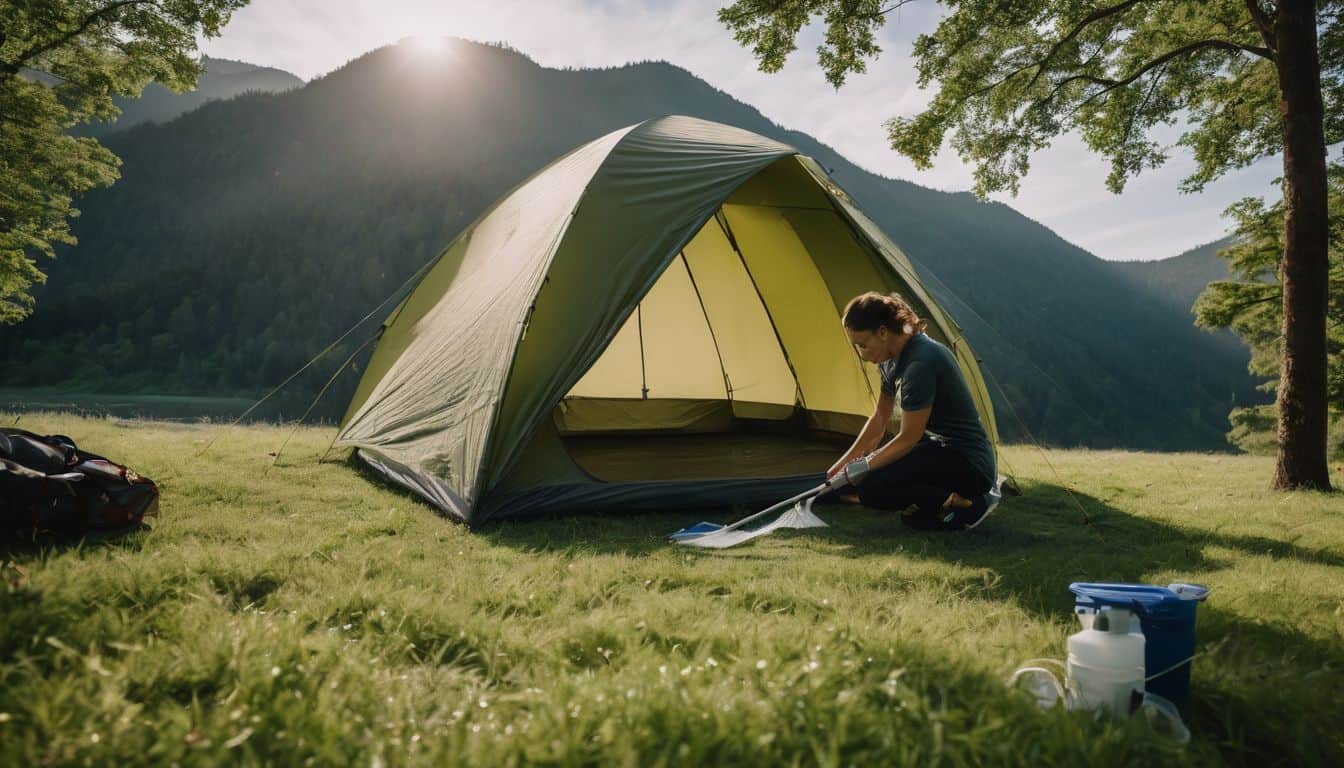
Proper tent maintenance is crucial for ensuring your outdoor shelter remains in top condition for years to come. This comprehensive guide will walk you through the process of cleaning and waterproofing your tent, helping you extend its lifespan and maintain its performance in various weather conditions.
Cleaning Your Tent
Pre-Cleaning Preparation
Before you begin, set up your tent and remove any loose dirt or debris. This step is essential whether you’re tent camping with dogs or just dealing with general outdoor grime.
Gentle Cleaning Methods
Use mild soap and lukewarm water to clean your tent gently. For stubborn stains, spot cleaning techniques can be effective. Always avoid harsh chemicals that could damage the tent fabric.
Proper Rinsing and Drying
Thoroughly rinse your tent to remove all soap residue. Air dry the tent in a shaded area to prevent UV damage and fabric weakening.
Assessing Waterproofing Needs
Regularly check for signs of wear such as leaking seams, flaking urethane coating, or loss of water beading on the rainfly. A simple spray test can help you identify areas that need attention. To perform this test, set up your tent and spray it with water from a hose, mimicking rain. Observe where water penetrates or soaks through the fabric. Pay special attention to seams, corners, and areas around zippers. If you notice water absorption rather than beading, or if there are visible leaks, it’s time to reapply waterproofing treatments.
Waterproofing Your Tent
Seam Sealing
Clean and prepare the seams before applying a seam sealer. This step is crucial for preventing leaks at the tent’s most vulnerable points. Start by cleaning the seams with rubbing alcohol to remove any dirt or old sealant. Apply the seam sealer in a thin, even layer along the inside of each seam. Pay extra attention to areas where multiple seams meet, as these are often prone to leaks. Allow the sealant to dry completely before using the tent.

Refreshing Urethane Coating
If the urethane coating is flaking, remove it and apply a new layer of urethane sealant. This coating is typically found on the inside of rainflies and tent floors. Gently remove any flaking coating with a sponge and rubbing alcohol. Once clean and dry, apply a thin, even layer of urethane sealant following the product instructions. This process requires patience and a well-ventilated area, as the sealant needs time to cure properly.
Restoring DWR (Durable Water Repellent)
Clean the rainfly and apply a spray-on water repellent to restore its water-shedding capabilities. First, clean the rainfly thoroughly and allow it to dry. Then, apply a spray-on DWR treatment evenly across the exterior surface. Some products require heat activation with a hairdryer or clothes dryer. The restored DWR coating will cause water to bead up and roll off the fabric, enhancing the tent’s waterproof performance.

Maintenance Between Trips
Proper storage is key to maintaining your tent. Ensure it’s completely dry and loosely packed to prevent creases. For more tips on essential gear, check out our guide on tent camping must-haves.
Prolonging Tent Life
Use footprints and groundsheets to protect your tent floor. Regular inspections and prompt addressing of minor issues can significantly extend your tent’s lifespan. A footprint, which is a custom-sized ground cloth, acts as a barrier between your tent floor and the ground, preventing abrasion and moisture seepage.
When using a footprint, ensure it’s slightly smaller than your tent’s floor to prevent water pooling. Conduct thorough inspections before and after each camping trip, checking for loose seams, small tears, or worn areas. Address these issues promptly; a small repair now can prevent a larger problem later.
Be gentle with zippers, using two hands to operate them and avoiding forcing them when snagged. When setting up your tent, clear the area of sharp objects and choose level ground to reduce stress on the tent structure. Avoid exposing your tent to prolonged direct sunlight when not in use, as UV rays can degrade the fabric over time.
By incorporating these practices into your camping routine, you can significantly increase the longevity of your tent, ensuring it remains a reliable shelter for many adventures to come.

When to Replace vs. Repair
Assess the cost-effectiveness of repairs versus replacement. Sometimes, investing in a new tent is more practical. For guidance on choosing a new tent, refer to our ultimate guide to buying a camping tent.
By following these guidelines, you can ensure your tent remains a reliable shelter for many camping adventures to come. Remember, regular maintenance is key to preserving your tent’s functionality and extending its life.
Quick Tip: If you’re looking for a new tent, check out our recommendations for the best 4-person tents for camping.

Leave a Reply