Winter Camping Safety: Your Essential Guide to Cold Weather Adventures
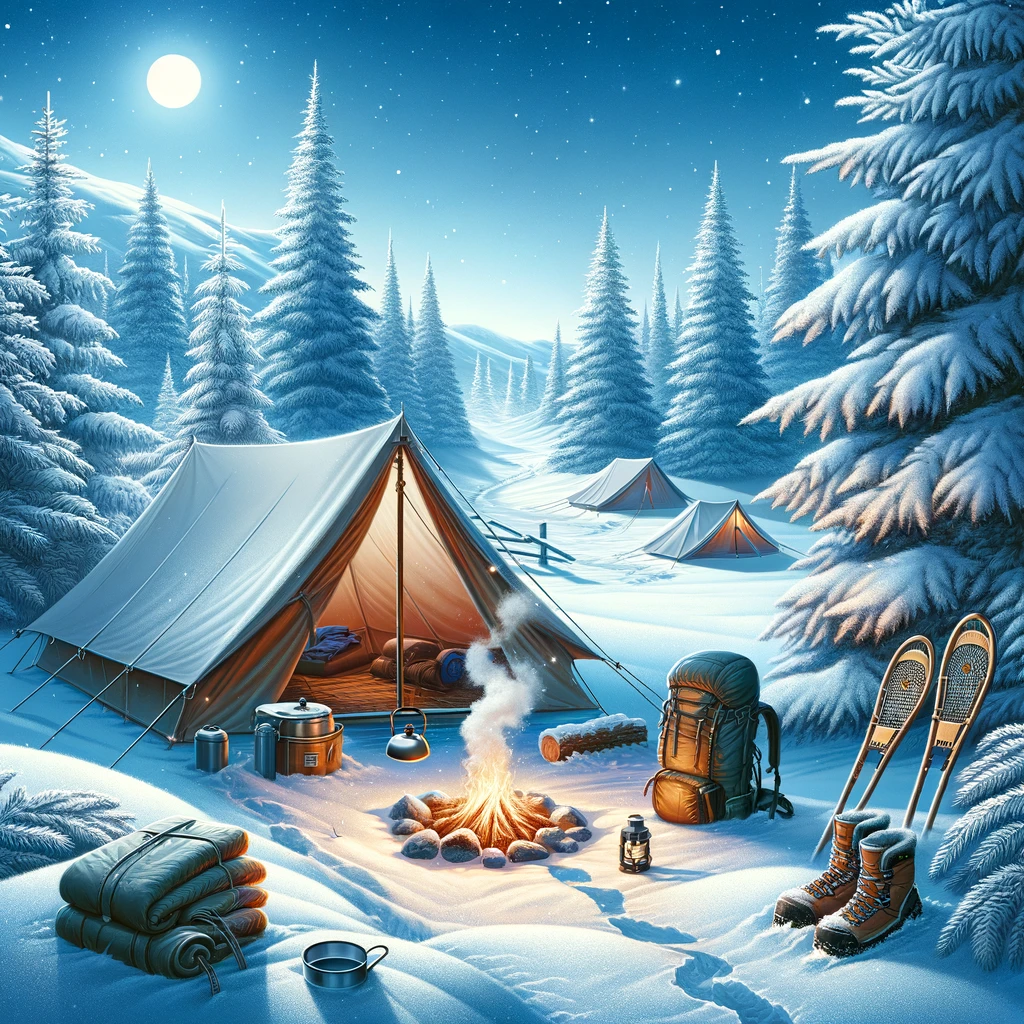
Winter camping offers a unique and exhilarating outdoor experience. Still, it also comes with its own set of challenges and risks. Proper preparation and knowledge are crucial for a safe and enjoyable winter camping trip. This guide will cover everything you need to know to stay safe in cold weather, ensuring your winter adventure is memorable and safe.
Essential Gear for Winter Camping
When venturing into the winter wilderness, having the right gear can make all the difference between a comfortable experience and a potentially dangerous situation. Your winter camping checklist should include:
- A four-season tent with a full-coverage rainfly to withstand snow and wind
- A sleeping bag rated for temperatures at least 10°F lower than expected
- Insulated sleeping pad with a high R-value (preferably five or higher)
- Layered clothing system (base, mid, and outer layers)
- Insulated, waterproof boots with removable liners for drying
- Warm hat, gloves, and extra socks (both thin liner socks and thick wool socks)
- Headlamp with extra batteries (cold temperatures drain batteries faster)
- Stove and fuel suitable for cold temperatures (liquid fuel stoves often perform better in extreme cold)
- High-calorie, easy-to-prepare food that won’t freeze
- Insulated water bottles and a way to melt snow for drinking water
- Snow shovel for clearing campsites and potential emergency use
- Avalanche safety gear if in avalanche-prone areas (beacon, probe, and shovel)
Remember, your gear choices can significantly impact your safety and comfort in cold conditions. Always test your gear before your trip and ensure everything is working well.
Mastering the Layering System
Proper layering is essential for maintaining body temperature in cold weather. The three-layer system consists of:
- Base layer: Moisture-wicking materials like merino wool or synthetic fabrics to keep skin dry
- Mid layer: Insulating materials such as fleece or down to trap warm air
- Outer layer: Waterproof and windproof shell to protect from the elements
Adjust your layers throughout the day to prevent overheating and sweating, which can lead to dangerous chills later on. Don’t forget to pack extra base layers to change into if you get sweaty during activities. It’s also wise to have a puffy insulated jacket for camp use when you’re less active.
 Essential Guide to Winter Recreation: Learn the...
 Traveler's Guide to Camping Mexico's Baja: Explore...
 Glacier National Park Winter Edition: Winter...
 Hiking and Skiing Alaska Travel Guide: The...
Winter Navigation and Avalanche Safety
Navigating in winter conditions presents unique challenges. Snow can obscure trails and landmarks, making it easy to get lost. Always carry a map, compass, and GPS device, and know how to use them in snowy terrain. Practice your navigation skills in familiar areas before venturing into more remote locations.
Be aware of the increased risk of avalanches in mountainous areas and learn how to assess avalanche danger. This includes understanding how terrain, weather, and snowpack contribute to avalanche risk. Carrying avalanche safety gear (beacon, probe, and shovel) and knowing how to use it is crucial when camping in avalanche-prone areas. Consider taking an avalanche safety course if you regularly camp in mountainous regions.
Cold Weather First Aid
Understanding how to recognize and treat cold-related injuries is vital for winter camping safety. Familiarize yourself with the symptoms of hypothermia and frostbite, and know the appropriate first aid measures. Hypothermia can set in quickly in cold, wet conditions, so be alert for signs like intense shivering, confusion, and loss of coordination in yourself and your camping partners.
For frostbite, watch for pale, waxy skin, particularly on extremities. Always carry a well-stocked first aid kit tailored to winter conditions, including chemical hand warmers, blister treatment, and emergency blankets.
Winter-Specific Camping Skills
Camping in winter requires some specialized skills that can significantly enhance your comfort and safety. Learn how to:
- Build emergency snow shelters like quinzhees or snow caves
- Melt snow efficiently for drinking water without wasting fuel
- Prevent gear from freezing by storing it properly
- Manage condensation in your tent to keep your sleeping area dry
- Start a fire in snowy conditions using waterproof matches or a reliable fire starter
These skills can be crucial for comfort and survival in extreme conditions. Practice these techniques in a safe environment before relying on them in the backcountry.
Nutrition and Hydration in Cold Weather
Staying properly hydrated and nourished is crucial in cold weather, yet it’s often overlooked. Your body burns more calories to stay warm, so pack high-energy, easily digestible foods. Opt for a mix of complex carbohydrates, proteins, and healthy fats. Snack frequently throughout the day to maintain energy levels.
Keep water from freezing by using insulated bottles and storing them close to your body, perhaps inside your jacket. Consider bringing a thermos with hot drinks or soup. Consuming warm drinks and meals can help maintain your body temperature and provide a psychological boost in cold conditions.
Trip Planning and Preparation
Thorough planning is key to a safe winter camping trip. Research weather patterns, understand snow conditions, and set realistic itineraries. Be prepared to adjust your plans based on conditions, and don’t push beyond your group’s capabilities. Always inform someone of your plans and expected return date, including details of your route and potential alternate routes.
Check local regulations and obtain any necessary permits. Some areas may have specific rules or closures in winter due to wildlife protection or increased hazards.
The Importance of an Emergency Plan
Having a solid emergency plan is crucial for winter camping safety. This plan should include emergency contact information, detailed route information, and contingency plans for various scenarios. Discuss the plan with all members of your group before the trip.
Familiarize yourself with emergency communication devices like satellite messengers and know how to signal for help in snowy conditions. Consider carrying an emergency locator beacon for remote trips. Know the locations of the nearest emergency services and how to reach them.
Leave No Trace in Winter
Practicing Leave No Trace principles is just as important in winter as in other seasons. Be mindful of waste disposal in frozen ground, and follow guidelines for responsible fire management on snow. Pack out all trash and consider the impact of your campsite on the environment, even when it’s covered in snow.
Remember, your actions can have lasting impacts on the winter environment. Avoid disturbing wildlife, which may be under increased stress during winter months. Stay on designated trails when possible to prevent damage to dormant plants beneath the snow.
Wildlife Awareness in Winter
While many animals are less active in winter, encounters are still possible. Learn about the wildlife in your camping area and how they behave in winter. Be particularly cautious of animals that might be attracted to food smells, and store your food properly using bear canisters or hanging methods, even in winter.
Conclusion
By following these expanded guidelines and continually educating yourself on winter camping safety, you can enjoy the serene beauty of winter landscapes while minimizing risks. Safety should always be your top priority when embarking on a winter camping adventure. With proper preparation, skills, and respect for the environment, winter camping can be an enriching experience that allows you to witness nature in its most pristine and peaceful state.
 YELLOWSTONE NATIONAL PARK Vocational Travel Guide...
 Avalanche Aware: The Essential Guide To Avalanche...
 Avalanche Aware, 2nd: The Essential Guide to...
 The Complete Guide to Fire Safety
 Yellowstone national park travel guide: Discover...
 Serious Survival: How to Poo in the Arctic and...
Leave a Reply