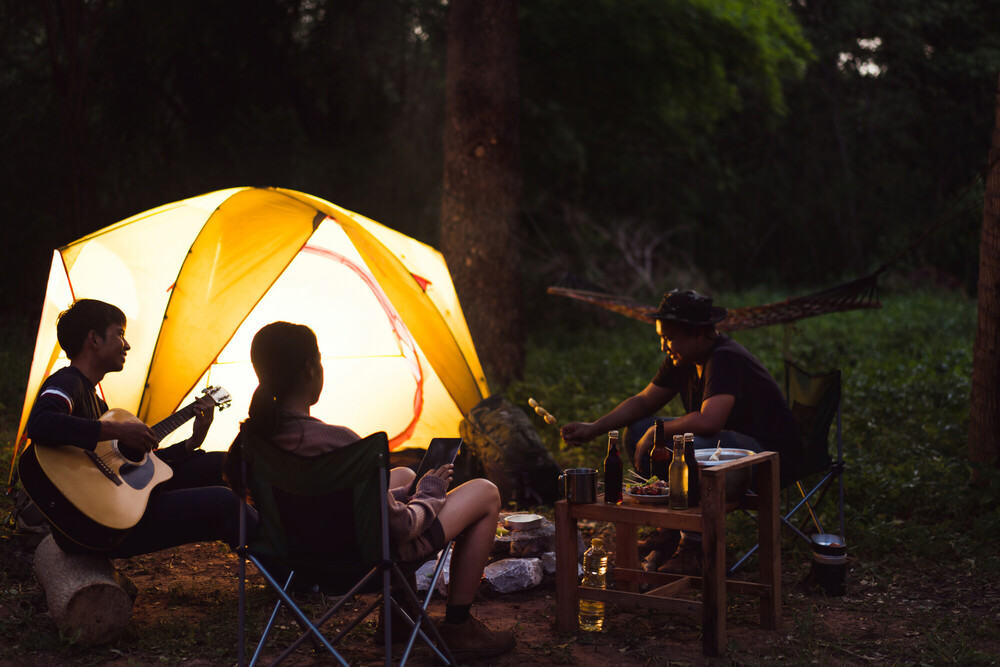
Creating your own camping bucket light is an ingenious way to illuminate outdoor adventures. These versatile lights provide safe, reliable illumination for campsites, backyard gatherings, and outdoor events while being portable and customizable. Before heading out on your next camping trip, consider crafting one of these practical lighting solutions.

Essential Materials and Tools
Creating a camping bucket light requires minimal supplies but careful attention to detail. The foundation of this project is a white 5-gallon bucket with its corresponding lid, which serves as both the light housing and reflective surface. Battery-operated LED lights or submersible lights work best for illumination, offering long-lasting brightness without the need for electrical connections.
Core Materials:
The heart of your bucket light system consists of:
- A white 5-gallon plastic bucket with a lid.
- Battery-operated LED lights (preferably with remote control).
- Permanent adhesive vinyl for decoration.
- Transfer tape for vinyl application.
- Velcro strips for securing lights.
- Rubbing alcohol for surface preparation.
Required Tools:
While the tool list is minimal, each item serves an essential purpose:
- Vinyl cutting machine (such as Cricut).
- Scraper tool for vinyl application.
- Basic cleaning supplies.
- Weeding tools for vinyl work.

Preparation Process
Proper preparation is vital to a successful bucket light. Begin by thoroughly cleaning the bucket’s surface and removing any labels or adhesive residue. A thorough wipe-down with rubbing alcohol ensures the vinyl will adhere properly.
For those adding decorative elements, this is the time to prepare your vinyl designs. Whether you’re creating camping-themed graphics or inspirational quotes, ensure your designs are sized appropriately for your bucket’s dimensions.
Assembly Instructions
The assembly process combines technical and artistic elements. Prepare your LED lights before starting the lighting setup. Clean the base of your lights with alcohol and apply Velcro strips to secure them inside the bucket.
Vinyl Application Technique:
Applying vinyl decoration requires patience and precision:
- Position your cut vinyl design using transfer tape
- Carefully burnish the design onto the bucket surface
- Remove the transfer tape slowly at a 45-degree angle
- Allow the vinyl to cure for 2-3 days for optimal adhesion
 Collapsible Portable LED Camping Lantern XTAUTO…

 LOTOFIT 4 Pack LED Camping Lantern Rechargeable…


 OGERY Rechargeable 10000mAh Camping Light with…
Customization and Enhancement
Your bucket light can be personalized in numerous ways. Consider adding weight to the bottom using water or sand to prevent tipping in windy conditions. You might create multiple vinyl designs for different occasions – perhaps something festive for holidays or themed for special events.
The beauty of these bucket lights lies in their versatility. Whether you’re planning a camping trip or simply enhancing your backyard ambiance, these DIY lights provide practical illumination while adding a personal touch to your outdoor space.
Remember that the best camping experiences combine proper preparation with the right equipment. A good trip plan can significantly affect how much you enjoy your bucket light and other camping amenities.
Practical Tips for Usage
When using your bucket light, consider its placement carefully. Position it away from direct foot traffic but close enough to illuminate common areas. If using multiple lights, space them strategically around your campsite for optimal coverage.
Conclusion
Proper care and storage are key to the durability of your bucket light. When not in use, store it in a dry place and remove the batteries to prevent corrosion. Regular cleaning and maintenance will ensure that your bucket light remains a reliable camping companion for years to come.
Leave a Reply