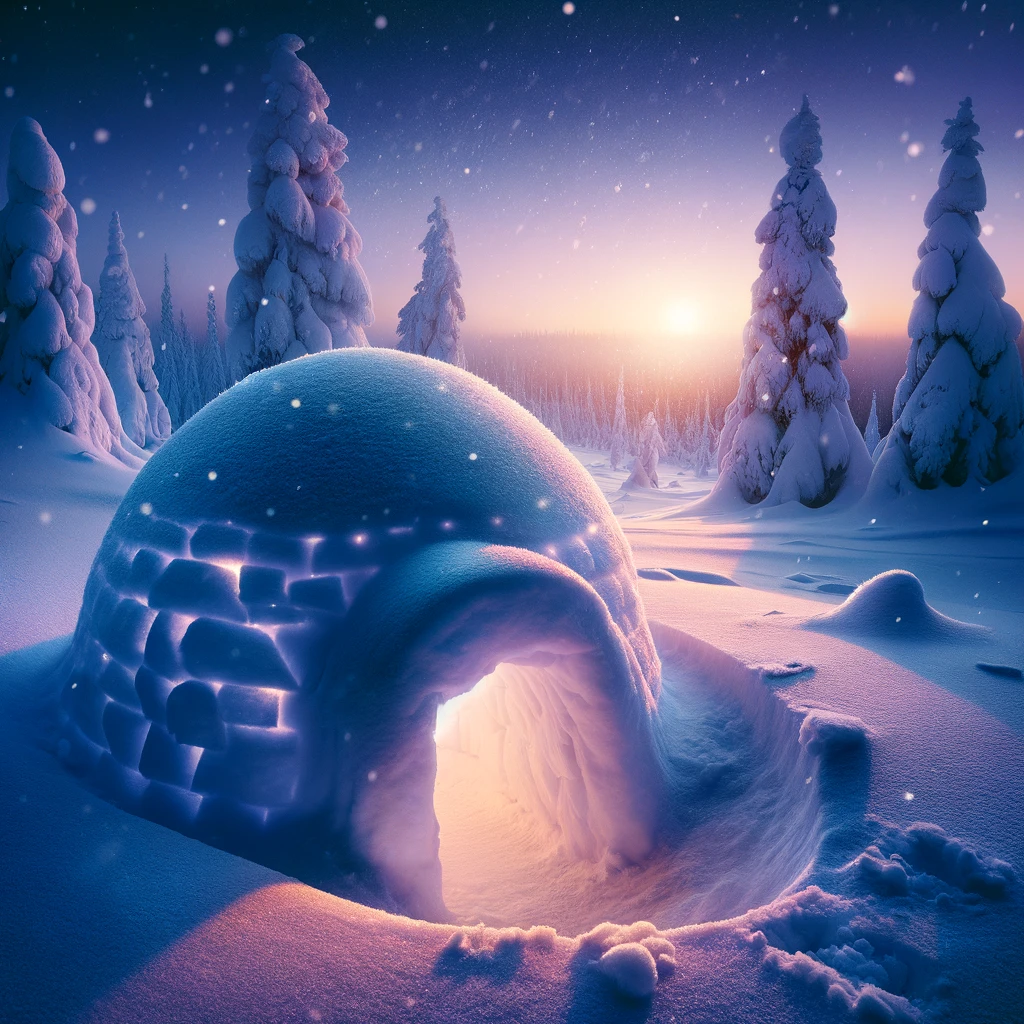
Winter camping offers a unique and exhilarating experience, but it also comes with its own set of challenges. One of the most crucial skills for any winter camper is the ability to build a snow shelter. Whether planning an extended winter expedition or just wanting to be prepared for emergencies, knowing how to construct a safe and warm snow shelter can be a lifesaver.
Safety First: Choosing the Right Location
Before you start building your snow shelter, choosing a safe location is essential. Assess the terrain for avalanche risk and avoid areas with potential hazards such as overhanging snow cornices or unstable trees. Look for a spot with suitable snow conditions – ideally, you want snow deep enough and with the right consistency for building.
When selecting your site, consider the following:
- Choose an area with at least 4-6 feet of snow depth.
- Look for wind-deposited snow, which is often more compacted and easier to work with.
- Avoid areas directly beneath trees, as falling branches could pose a danger.
- Stay away from potential avalanche paths.
Essential tools for snow shelter construction include a sturdy snow shovel, snow saw, and probe. These will help you efficiently shape and excavate your shelter while ensuring structural integrity.
The Snow Cave: Nature’s Insulated Refuge
The snow cave is one of the most effective and comfortable snow shelters you can build. It provides excellent insulation and protection from the elements.
Site Selection and Preparation
Find a suitable snowdrift or slope with deep, compacted snow. Mark the entrance location with ski poles or branches to ensure visibility, especially if it continues snowing.
Construction Techniques
- Begin by digging a tunnel into the snowdrift at a slight upward angle. This creates a cold air sink, keeping warmer air inside the shelter.
- Once you’ve tunneled in about 3-4 feet, start excavating upwards and outwards to create the main chamber.
- Shape the ceiling into a dome for greater strength and smooth it out to prevent dripping.
- Create a raised sleeping platform higher than the entrance. This further helps trap warm air inside.
Ventilation and Safety Features
Proper ventilation is crucial to prevent carbon dioxide buildup and maintain air quality. Create at least one ventilation hole in the ceiling, about the size of your fist. Regularly check and clear this hole to ensure it remains open.
The Trench Shelter: Quick Protection in Emergencies
When time is of the essence, a trench shelter can provide rapid protection from the elements.
Rapid Construction Method
- Stomp out an area in the snow about 7 feet long and 3 feet wide to create a compacted base.
- Dig a trench about 3 feet deep, slightly wider than your shoulders, and long enough to lie down in.
- Pile the excavated snow around the edges of the trench to create walls.
Roofing and Insulation
Create an A-frame roof using ski poles, branches, or snow blocks leaned against each other over the trench. Cover this frame with a tarp or additional snow blocks, then pack snow over the entire structure for insulation.
The Quinzee: A Versatile Group Shelter
A quinzee is an excellent option for group shelters or when you have more time to prepare.
Building the Snow Mound
- Pile snow into a large mound about 6-8 feet high and 10-12 feet in diameter for a two-person shelter.
- Insert foot-long sticks throughout the mound as depth guides.
- Allow the mound to settle for at least an hour, preferably longer in warmer temperatures.
Hollowing Out the Interior
- Dig a small entrance tunnel at the base of the mound.
- Carefully hollow out the interior, stopping when you reach the ends of the inserted sticks.
- Smooth the interior walls and ceiling to prevent dripping.
For more tips on making winter camping comfortable, including how to stay warm inside your snow shelter, check out our comprehensive guide.
Insulation and Comfort: Maximizing Warmth
To enhance the warmth of your snow shelter:
- Use natural materials like pine boughs or leaves to create an insulating layer between you and the snow.
- Create a sleeping platform raised above the shelter floor to stay warmer.
- Manage condensation by smoothing interior surfaces and maintaining proper ventilation.
Remember to choose the right sleeping pad for cold weather camping to ensure maximum insulation from the cold ground.
Environmental Considerations and Leave No Trace Principles
When building snow shelters, it’s important to minimize your impact on the winter landscape:
- Avoid damaging live trees or vegetation when gathering materials.
- When your trip is over, collapse your snow shelter to prevent animals from becoming trapped.
- Pack out all trash and gear, leaving the site as you found it.
Conclusion
Mastering the art of building snow shelters is an invaluable skill for winter camping enthusiasts. Whether you’re constructing a snow cave for a planned expedition or quickly assembling a trench shelter in an emergency, these techniques can provide lifesaving protection from harsh winter conditions. Always prioritize safety, practice your shelter-building skills in controlled environments, and respect the natural landscape.

Leave a Reply